Showing posts with label gifts. Show all posts

Thursday, August 15, 2013

Gift Closet Reorganization

To redo my gift closet has been on my list for quite some time but to be honest it looked like an avalanche! Very intimidating and unfortunately I'm not very good at taking "before" pictures. This is probably saving me a bit of embarrassment at this time so just imagine this closet with all my Christmas stuff from this past season thrown in there looking like an avalanche!

First, I was on a mission to find a shelving unit that would help me maximize the dead space in the back corners of the closet. I scored some sturdy plastic white shelves at Home Depot for $14.99. 


I bought 2 then 2 more for Kyle's closet which is next on my list! Look how perfectly they fit!


Here is my finished gift closet:
I used white laundry baskets from The Dollar Tree to optimize shelf space and make items visible and accessible. I spent $6 total for all the baskets! WOW
Since this is in my guest room, I wanted to have a place for guests to hang clothes. The shelves make this possible.


I like that I have everything here that I need to wrap a present. All the tags, tape, scissors and pens are in this green pocket organizer. Everything is organized and has a home that makes it easy for me to return items. That is essential in order to sustain organization ( and train your boys!)

Now tackle that avalanche!!! Next up... Kyle's closet!

Thursday, July 4, 2013

Free To Be

Happy 4th of July!!

A few years ago I was involved in a circle journal and it is one of my treasured projects. 
If you are new to this idea, it's where you are in a group of others, each makes a journal and it goes around the list which also means it may go around the world, for people to add their entries to your book as you add to theirs. This one went out of the country a few times. 
 I picked the theme Free to Be. 


In making the cover I printed a copy of the Declaration of Independence off the internet onto velum. I then soaked it in light coffee water, wrapped in around the inside and added my own touches.


This was my inside layout and others added to the following pages. It was interesting to see what others thought freedom meant.


Inside I printed the following journaling:


Freedom means so many things to each of us differently. Not having any immediate family that serves in the armed services does not exclude me from feeling indebted to those that have, are, and will serve to keep us in a country of freedom. 

Enjoy your 4th and your freedom.
~Cathy

button

Thursday, June 27, 2013

Baby Shower Diaper Cake and Diaper Wreath


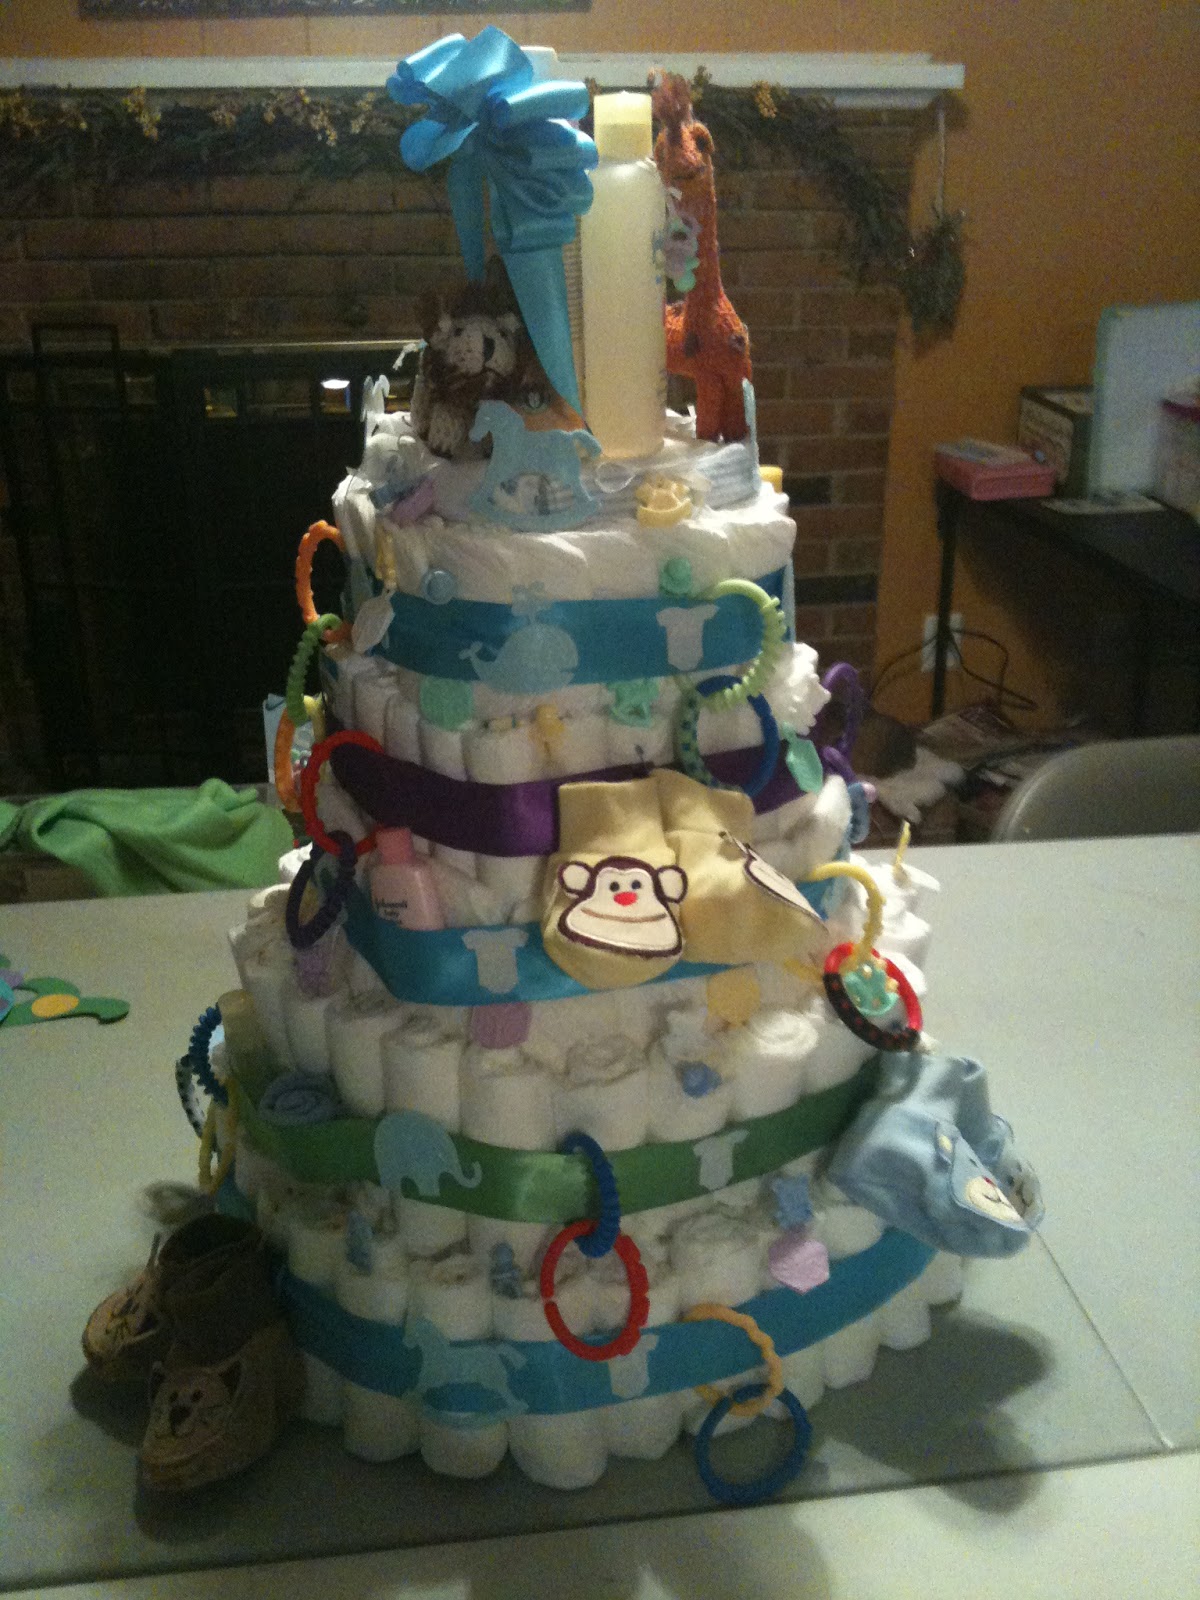
For my daughter's baby shower, for her first baby boy, I made this diaper cake (among many other projects!) and it was so much fun just adding and adding to the cake.
 All around the edges (aside from the boxes of diapers) I added toys, booties,
 travel size baby lotions, and so many other little useful items. On top
 of the cake I added the full size bottles of Bert's Bee baby goodies.


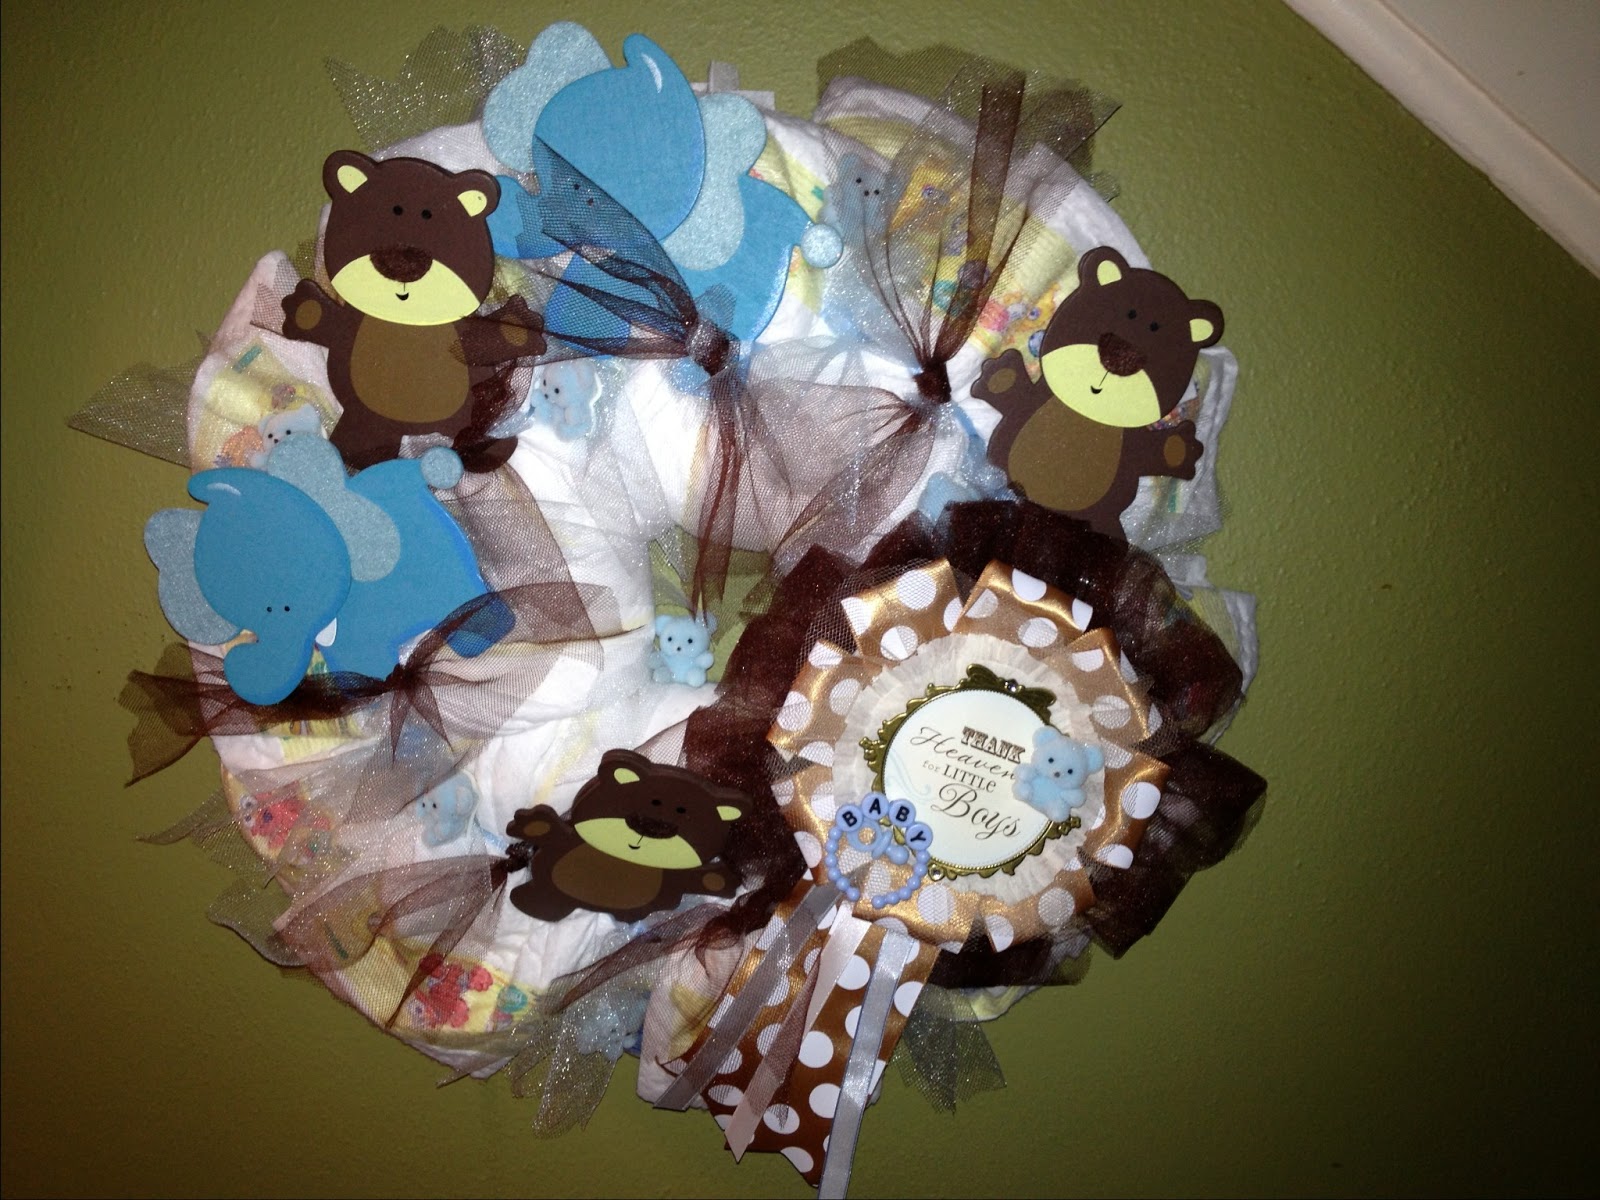
Now for her second baby shower, which I have learned is called a Sprinkle, I  made this diaper  wreath. Theses projects are so easy and so much fun to just build and build. The difficult task for me is to know when to stop adding the goodies. There is just no rules for that!


I also made these other little treats such as the baby stroller lollipops, covered Hersey bars with my own ingredients list, and even little onesies covered boxes with treats. 


Just remember to have fun in whatever you are creating.

~Cathy

Linked up to these blog parties:

Somewhat Simple button

Friday, June 21, 2013

Unique Baby Album


I was looking around for different ways to make an album to add as a special little baby shower gift and the idea of the onesie came up. 


So I played around with the shapes; dresses, bib overalls and of course the onesie. Then it just became fun dressing up the chipboard.
You can make these into any design once you have your template, the front and back cover is chipboard and the inside pages are cardstock  (template coming soon on our website). 
I have made one for a baby's christening all in white. Another very dressy for little girls and with all grandsons, I have made several of the little bib boys.

                     It's just fun to decide what theme to run with.   
                                  It's all in the creating......


~Cathy

Sunday, June 16, 2013

DIY Frames for Gifts

Oh my goodness - We can't believe that we have reached over 1000 pageviews today! We are soooo flattered and speechless. Thank you to all of you who have viewed and continue to come back and spend time with us! Phase 2 is our Website where we will have some products for purchase. Can't wait to share that milestone with all of you!

Things have been so busy for us lately! Running from party to party and spending time with friends at BBQs. The good thing is that it wears out my lil one! {and me too!} Believe it or not I (Jenn) am the lazy crafter. I like a quick craft with huge results. This is partly because of my patience but mostly because I don't have much time.

I do LOVE making presents. I will take the time because I know how much people appreciate the thought and effort that goes into them as long as they are personal for the receiver. When my neighbor was having a graduation party, of course it is customary to give cash to assist with all the piling expenses that the next phase of life will bring but I had to make it personal somehow.

I thought that I would make a frame. This could serve as the presentation as well as hold memories. And I knew just the paper that would be perfect for this beautiful, sophisticated lady.

What you need:
  • Wooden frame (purchased mine from Michael's in the unfinished wood section) 
  • White glue
  • Exacto knife
  • Sandpaper, optional
  • 1 - 12x12 sheet of scrapbook paper of your choice
  • Coordinating embellishments
  • Other adhesives depending on your embellishments
NOTE: When you are selecting the paper, make sure that you are mindful of the picture cutout and where that will fall once you adhere the paper. You will cut out the paper for the picture so be sure you aren't cutting out something that you wanted to have on the frame itself. I had to turn my frame to figure out placement. This also will help inform the type of embellishments you will use based on your playing area. Also, be sure that you use thick paper. I have used really cute thin light colored paper before and you can clearly see where the glue was applied. UGH!

I think this is the perfect paper for a graduation from My Mind's Eye. "Spread your wings and fly..."Plus, I love birds and what the symbolize.

  1. First, remove any wrapping and glass where the frame goes. Set aside. You may want to paint the frame to coordinate with the paper. I liked the raw wood with this paper so I skipped this step.
  2. Set the frame right side up and apply Scotch white glue around the edge of the frame and around the picture cutout. Apply a thin line - not too much or it will ooze out of the sides. You want it close enough to the edges that it will spread and not run over but allow a small amount of space for that to happen. If it does ooze, just wipe with a paper towel. 
  3. Then set the scrapbook paper at the edges to minimize the need to trim. You should have already figured out placement so this should be easy. Set the paper down and rub in the areas that you know you applied glue. Wipe away any oozes and ensure there aren't any bubbles. The beauty is that if you mess this up, just pull up the paper and apply more glue {if needed} and reposition. 
  4. Then, I flip the frame over and rub the back to ensure it adheres. You should be able to see along the edges where the excess paper needs to be trimmed. Take your exacto knife and run it along the edge of the frame in one straight line. You will do the same to the frame cutout. Clean up any jagged edges. You can use sand paper for this too if you need to.
  5. Flip the frame back over to the paper side and assess embellishment placement. Believe it or not I like to arrange and play before I commit. I find that the more I play the more ideas I have. 
  6. Adhere your embellishments. I like a 3D look so stacking the chipboard stickers and using bling and flowers is totally the look I was going for. I don't get to do much girlie stuff! I used the brown bling and cut it apart. Don't think you have to use it as it came packaged!
The final presentation. I love it and now I want one :)

Hope you are all spending quality time with your loved ones this Father's Day!
~ Jenn

Monday, June 10, 2013

Superhero Father's Day Ideas

In our house, we do small meaningful gifts for Mother's Day and Father's Day. With a 4 year old who is obsessed with superheroes, the theme is obvious. So we want to show Daddy that he is our {super}hero with handmade gifts.

For our Daddy, we like the following ideas:

  • Framed handprints for his office
  • New pics and frames for his office
  • Keychains
  • Drink coozies
  • Coupon books with free wishes :)
  • T-shirts
While I love it when I have original ideas, there are so many free printables and craft ideas that let's face it - we don't always have time to be original! If someone else has had a fantabulous idea already, then why would I ignore it? Here are some ideas that I have found for our Superhero Daddy as I blog hopped my favorite blogs. Hope you are inspired!
  1. Make your own T-shirt - Our Daddy has a hard time finding shirts to fit him, so making iron on prints for a 2XLT shirt is ideal! Iron on prints are easy! You buy the Avery iron on printer paper and cut out around the shape. Then iron it on! If you have an image, you can put it on a t-shirt! Click HERE for a free Number One Dad download to put on a t-shirt from I Love It All.
  2. Superhero Coupon Booklet: This is a freebie from one of my favorite bloggers, Kiki & Company. Be sure to like her Facebook page and follow her on Pinterest - you won't regret it!


Go HERE to read her blog and download the printables - FOR FREE!!!! For us this is going to be a one stop shop.

  • She has a superhero coupon booklet for Daddy and Grandpa. 
  • A frameable superhero print. 
  • Food labels - I am thinking treasure hunt clues around the house....each label has a clue to the next gift. We did this last year and it was a hit!
  • Superhero cards - just cut out the paper tot of your choice and attach to the front of the card. 
  • I bet you could print these out as an iron on and make a t-shirt.....you know I am trying this!
There are sheets of other extras to download as well. I love using these for kid activities. Punch out the paper tot superheroes with a circle punch and then the kiddos can tape or glue them for art work. If you have a superhero room or bathroom, you could frame these in small 3x3 frames. The possibilities are endless!
   3.  Frame some pictures for his office - Even superheroes have day jobs! Remind them that they are superheroes at home AND at work with a visual reminder. It's a superhero summer with all the movie releases. Look at the stores and you are sure to find a frame. This one is from Hobby Lobby.

   4. Superhero Care Package - Buy your superhero his favorite snacks and then download this free printable HERE to create a superhero care package from AlphaMom.


  5. Hand Print Tree - HERE is a free template for 2013 from The Crafting Chicks. Just add paint and little fingers! Frame it and more office art!

Ok, so what is your excuse? You have plenty of time and the resources to do it on the cheap! This is the motherload of free ideas to ensure your Daddy feels like a Superhero. Get cracking!

~ Jenn

Wednesday, June 5, 2013

Father's Day Idea 1 - Shutterfly Album

Father's Day is right around the corner and if you are like me, you are trying to find something meaningful for your man and/or Dad. Here is what I put together last year.

Doug treasures the trips he takes with his Dad to Michigan each year to watch a football game. So, I put together a book from last year's trip. The beauty of it is I create one book and print 2 gifts.

Don't ever pay full price - they always have a coupon code for photo books. If you don't see one, save your project and wait. I am convinced they send you coupon codes because they know you have a recent project in progress. Totally my theory.

What Father's Day ideas do you have? We have more ideas that are meaningful and easy to pull together - stay tuned!!!

Michigan - October 2012


Turn your favorite photos into a photo book at Shutterfly.com.

Enjoy!
~Jenn

Monday, June 3, 2013

Birthday Cake with Gifts In Each Slice!

I made this three level birthday cake out of card stock paper and birthday party decorations for my two year old grandson's racing theme birthday.


Each level has a special little gift tucked inside the paper slices.

  • The bottom level slices have a little monster truck hidden inside each of the 6 slices.
  • The middle layer of cake slices each holds a hot wheel car. 
  • The top layer each one has a little candy treat inside.


All of the other embellishments basically came from the Dollar Tree including the red base which is just a plastic serving bowl turned upside down. The top is also just racing birthday party decorations with spray painted chipboard letters. I also added two monster trucks on top and as you can imagine the little guy was thrilled!!  


I also made this same cake idea for my daughters 25th birthday in lavender and pink flowers but just one large round layer. Each slice had its own little jewelry gift inside. It was also a big hit and so fun to make.

Thanks for looking!

~Cathy


Wednesday, May 29, 2013

Paper Bag Baby Boy Album & Diaper Bag


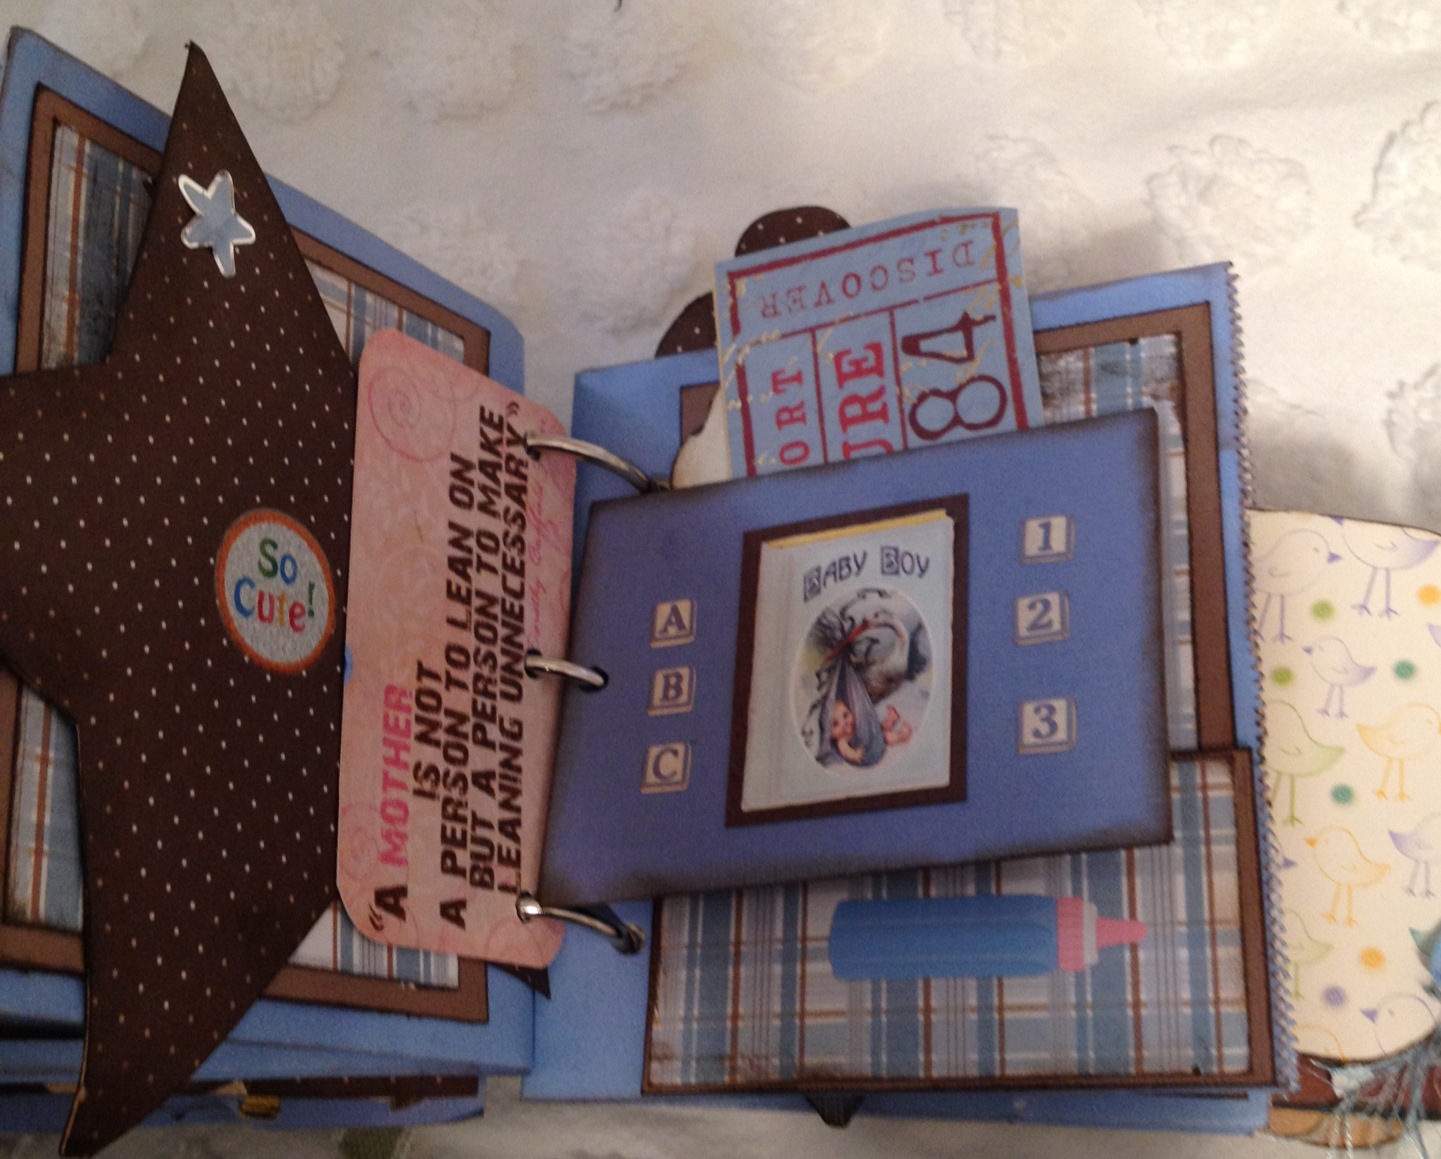
So with 3 grandsons I love making baby albums and layouts. But sometimes I do get carried away. So with this paper bag album I wanted to step it up a little and find someway of making it more of a gift than just the album. This project just sort of took on a life of its own. I do get a lot of my inspirations from Splitcoast Stampers and then just run with any idea.


So first I found these wonderful little blue paper bags and knew right away—paper bag baby boy album. So I started adding and adding until I finally considered it full to place all the little memories of pictures and journaling. This was a great way to use so many one of kind little embellishments.


Next using a 12x12 sheet of paper I formed the little box open ended and added the handle and then two little slots on the sides for little bottles. Of course this is so easy to change up; you could add baby rattles, booties, little frames, or anything that comes to mind. I also added the little pocket on the front with Love where a gift card can be slid in.


So even if you didn’t want to make the album, you could always just fill the little diaper bag with goodies as a unique baby shower gift.

Just let your imagination run. That is what makes it fun! 

~ Cathy