They both provide great step by step directions and two different results, so I knew I could tackle this!
What you need:
- 24x24 plywood
- Stain of your color choice
- Sandpaper
- Printed Typewriter keys - You can download these from {here}
- Nails - whatever type of nail you want to use. I used small black carpet nails for an antique look.
- Mod Podge
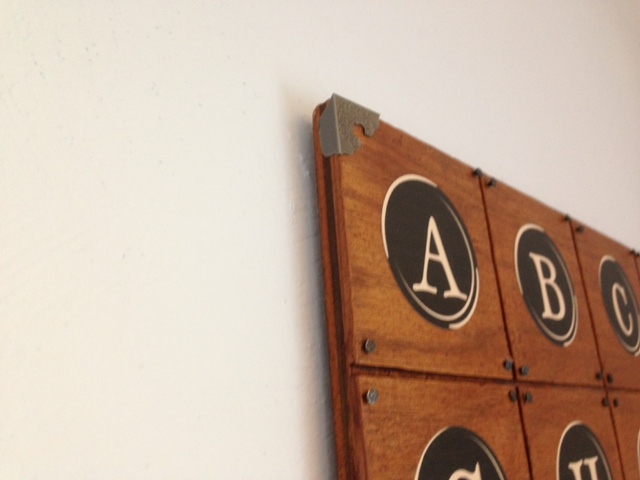
- Metal corners - I used Tim Holz sold at Michael's Craft Store. Don't forget your coupon!

Using the 24x24 plywood board that I purchased at Home Depot, I measured out and marked 4 inches so I had 6 - 4" blocks in each direction = 36 letters and numbers for the board. My dad used his table saw to cut on the 4" marks a 1/4" deep cut.

I stained it to the color I wanted, then Mod Podged the cut out letters to the board. Then I hammered in the nails in the four corners of each letter except for the exterior corners where the metal corner is attached. I had to pace myself with that because my fingers were raw!


I used 3M picture hangers to hang it on the wall and voila! I am loving it!

What PB knock-offs have you tried?
~Jenn
No comments:
Post a Comment